
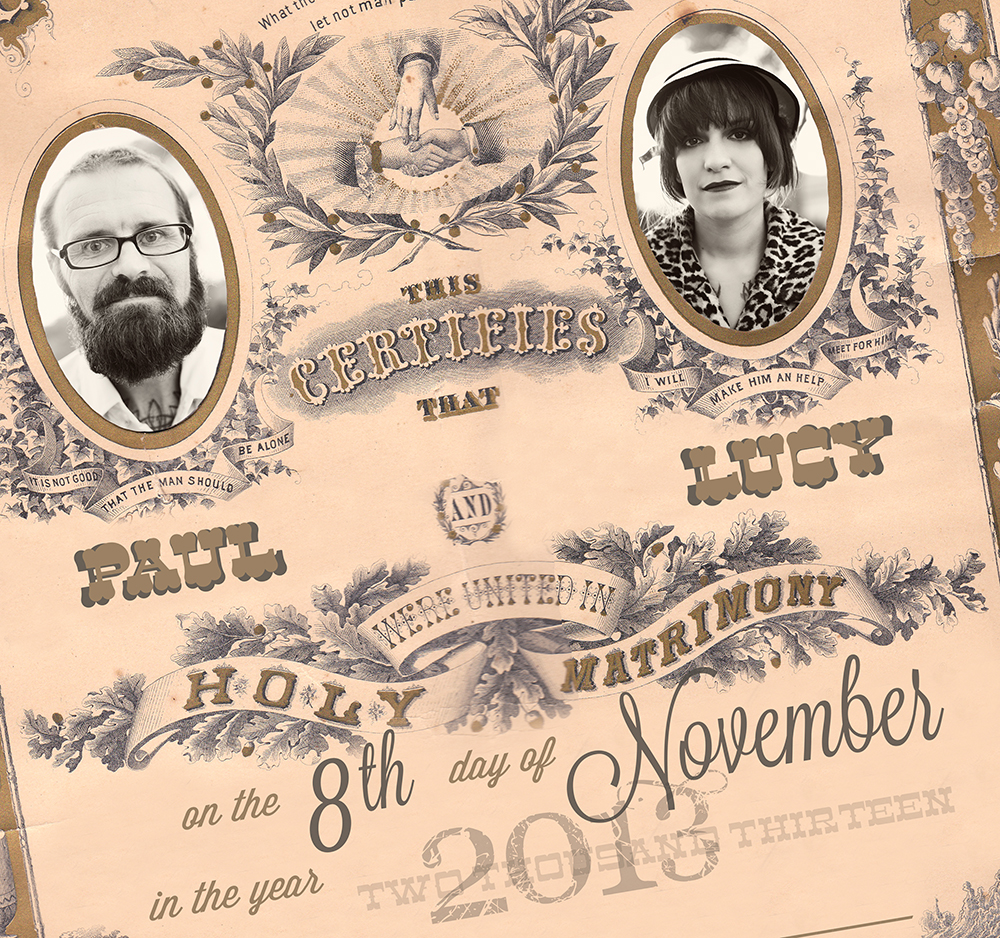
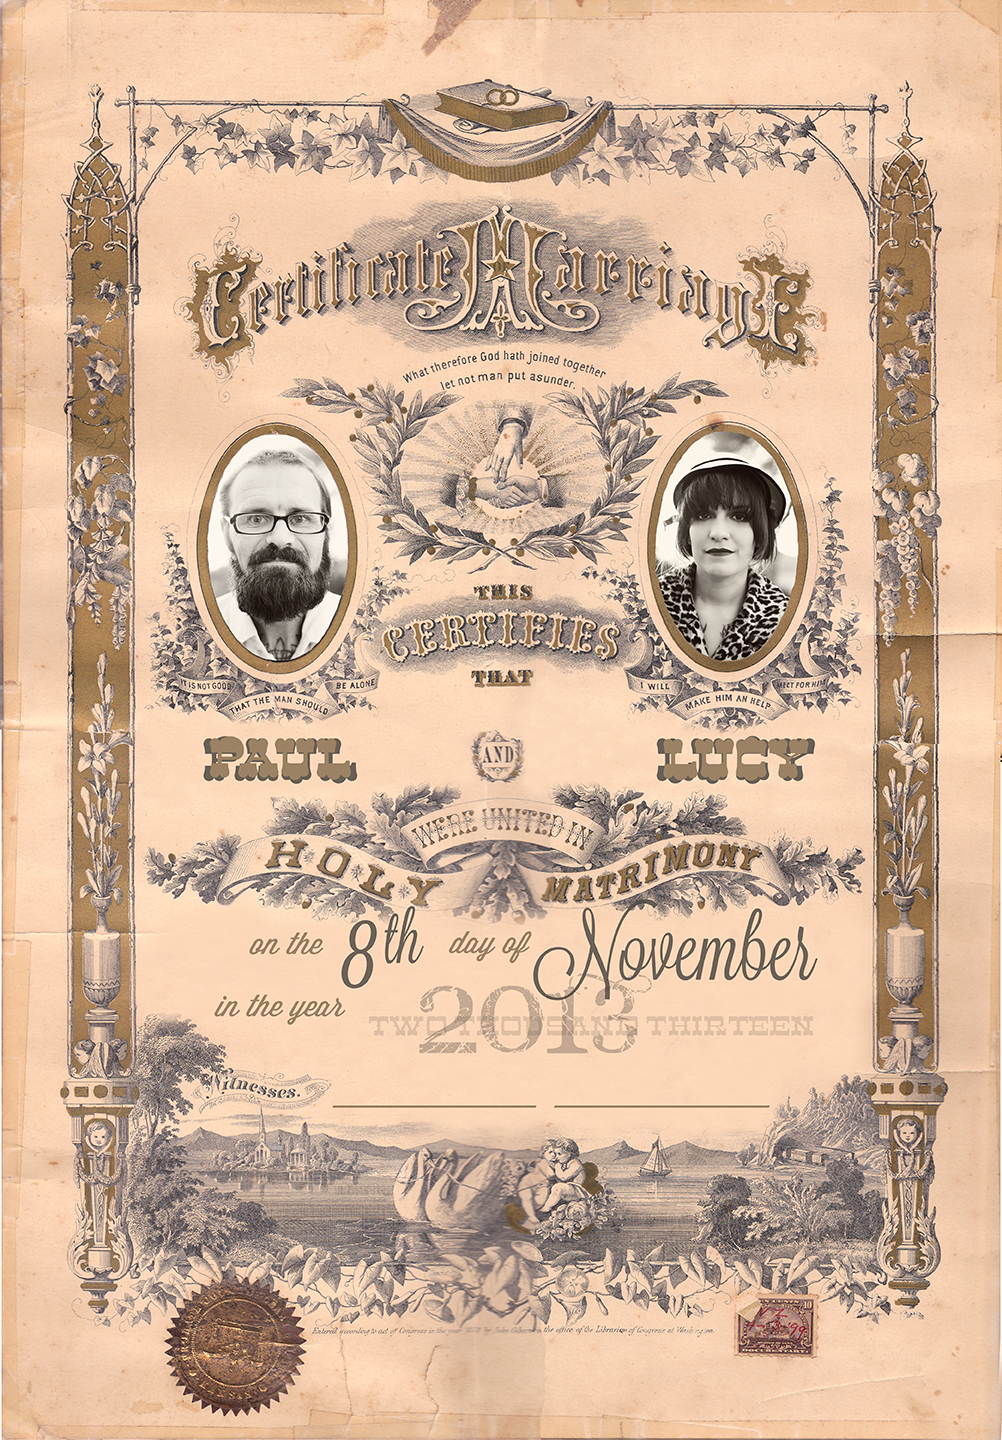
This morning has been entirely spent scanning an antique marriage certificate I found on an estate sale and replacing the photos with images I took a few months ago of my dear friend Kristin and her boyfriend, Chris. I'm not sure how she'll react to her face on a marriage certificate, but she and Chris have such cute mugs I couldn't resist. I listed this service on my etsy site just now, with the promise of a tiny photo tutorial for those who wish to have their own mugs on a personalized antique certificate.
Click the see more link below to learn...
HOW TO MAKE OPTIMUM IMAGES FOR YOUR CERTIFICATE:
Start with two foxes. Then take them outdoors.* Take several images of each person from eye level. If they're super tall or short (Chris is sooo much taller than me), get on a small step ladder or a chair, or have the tall person squat just a bit, so you're not looking right up into "full nostril." This is never a good look. Definitely don't have them just point their head down and be weary of the "chin is in" -- this makes for a double, in my case triple, chin. These two are super thinny, so I didn't even need to, but I had them stick their chins out and actually sort of stretch towards the camera... this is a totally legit thing to do in single person pics, where you need a head and shoulders type shot.
*Indoors would work as well, but use a very well-lit room; have your model stand next to a window getting that fine gorgeous light on them... take a lot if you do this, and make sure to look at each image for glasses-glare (I can't remove this) or lines across the face (deep shadows). Don't have your model stand directly in front of the window, durr, because they're going to be dark while the window will be a big, bright rectangle.
Try to make their face take up at least 1/8 of the picture. I don't want you to get so close that what you've eaten for lunch becomes an issue, or their face becomes distorted, but within 3 feet, depending on your camera/lens, is generally a good rule. I certainly don't need their feet for goodness sake! Remember to take them separately. Your bride friend and her fiancee sure made a great photo at the bar last night, in the dark, with a bright flash,* cheek to cheek, but in this case, it will just look awkward when there is some random hair hanging out the side of the groom's face!
*Flash! Oh, that naughty, naughty burst of light which will make anyone with glasses no longer have half of their beautiful eye because of the glare. If you're unable to control your flash, and it decides when to go off, and it keeps doing so, that's your key to grab your models and move outside.*
*Outside! You tricky beast. If the sun sits directly overhead when you do this, you could have squinty eye (if they're having to peer into it), or worse, the pattern of your lovely oak tree making your model awkward and splotchy. Find a spot with even light, and if you're not sure, just keep trying til you find a place where there aren't dramatic shadows on the faces of your foxes.
** I totally think you'll be golden; I've just decided to be extremely over-explanatory here, so there's no frustration about sending me pics and me having to send back an oops note, thusly making you get together with your models or your cameraman/woman again.
If you already have great photos, great! If you feel like your photos aren't the best, but they'll totally "do" for what you're wanting this for, no problem! I just want to make sure you have the tools you'll need if you want yours to look like my example.
No comments:
Post a Comment